Clients judge food with their eyes long before they taste it, so your photos do much of the selling. Learn the light, angles and styling that make food and drink look as good as they taste, how to build a shot list for events and studio days, and how to keep every image honest and licensed.
Read the transcript
Food and drink photography.
A client looking at caterers online is trying to imagine one thing: their guests, at their event, eating your food.
A dim photo of a buffet tray under fluorescent light tells them you are ordinary.
Light first.
Most poor food photos are lighting problems, not camera problems.
Fix the light and a modern phone will do the rest.
The right angle for each dish.
Different foods have a best side, just like people.
Choose the angle by the shape of the food.
Styling without faking.
Food styling for advertising once meant motor oil for syrup and glue for milk.
You do not need any of that, and you should not use it.
Worked example: a professional shoot versus doing it yourself.
The figures here are illustrative.
Brass Kettle, a fictional food truck in Hamilton, needs new photos for its menu board, website, booking page and a season of social posts.
A shot list for every event.
Build a standard list and give it to whoever is shooting, whether that is you, a staff member or the event photographer.
Every dish on the menu, plated, before service, in good light
That is the lesson. The worksheet and the quiz are just below this video.
What you will be able to do
- Photograph dishes and drinks with natural light and the right angle for each type of item
- Plan a shot list that covers menus, service, people at work and the moments clients want to picture
- Keep photos accurate, licensed and responsible, including images that show alcohol
A client looking at caterers online is trying to imagine one thing: their guests, at their event, eating your food. A dim photo of a buffet tray under fluorescent light tells them you are ordinary. A bright, close photo of a plated dish with a guest’s hand reaching for it tells them their event could look like that. Food photography is not decoration. It is your menu, your tasting and your reputation, on a phone screen.
Light first
Most poor food photos are lighting problems, not camera problems. Fix the light and a modern phone will do the rest.
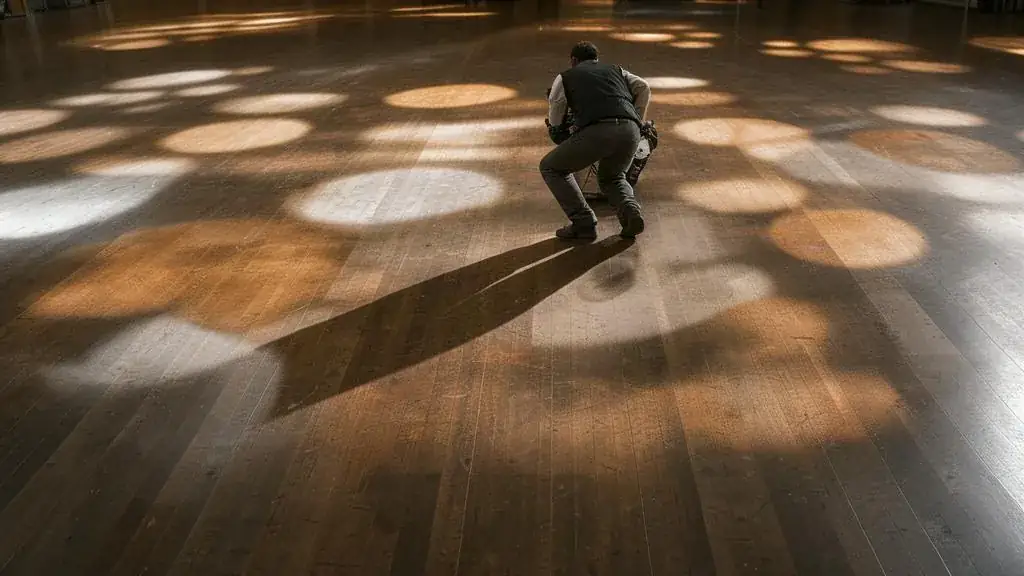
- Use daylight from the side. Put the dish near a large window, with the light coming from one side or slightly behind. Side light shows texture: the crust on bread, the sheen on a sauce, the bubbles in a drink.
- Avoid direct sun and overhead lights. Hard sun creates harsh shadows, and ceiling lights often add a yellow or green cast. Turn off the room lights if the window is bright enough.
- Soften and fill. A sheet of white paper or foam board on the side opposite the window bounces light into the shadows. A thin white curtain softens strong sun.
- Never use the built-in flash. It flattens food and makes sauces look greasy.
- At events, find the best light before service. Walk the venue while you set up, find the window or the warmest spot, and plate one of each dish there before guests arrive.
The right angle for each dish
Different foods have a best side, just like people. Choose the angle by the shape of the food.
| Angle | Best for | Why |
|---|---|---|
| Overhead, straight down | Platters, grazing tables, pizza, bowls, table spreads | Shows pattern, variety and abundance |
| About 45 degrees | Plated mains, desserts on plates, canapés on trays | Close to how a guest sees the plate when seated |
| Eye level | Burgers, layered cakes, stacked desserts, cocktails, tacos held in hand | Shows height and layers |
| Close-up detail | Garnish, texture, a pour, a cut through a dish | Gives social posts a sense of taste and movement |
| Wide, with people | Stations, bars, trucks with a line, guests at a long table | Shows scale, service and atmosphere |
Styling without faking
Food styling for advertising once meant motor oil for syrup and glue for milk. You do not need any of that, and you should not use it. Your photos should show food your kitchen actually serves, in portions guests actually receive.
- Plate the dish exactly as it will be served at events, then wipe the rim and fix any drips.
- Shoot within a minute or two, before greens wilt and sauces skin over.
- Use a few props that tell the story: a linen napkin, the cutlery you supply, a hand holding a glass. Keep them plain so the food stands out.
- For drinks, use clean, polished glassware, fresh garnish and fresh ice. Shoot against a dark background for clear drinks and a light one for dark drinks.
- Show the portion honestly. A single perfect canapé in close-up is fine; a photo that makes a lunch box look twice its real size is not.
Worked example: a professional shoot versus doing it yourself
The figures here are illustrative. Brass Kettle, a fictional food truck in Hamilton, needs new photos for its menu board, website, booking page and a season of social posts.
Option one is a half-day shoot with a food photographer at $1,400 plus HST, with the menu cooked by the owner, about $250 in food and four hours of the owner’s time. The photographer delivers 40 edited images with a licence for the truck’s own marketing. The cost is $1,650 before tax and the owner’s time, or about $41 per image.
Option two is doing it with a phone, a foam board and a window. Cost: about $60 in materials and $250 in food, plus a full day of the owner’s time to shoot and edit. The result is perhaps 25 usable images of lower consistency.
Brass Kettle chose a mix. It booked the professional shoot for the 12 hero images it would use all year, on the menu board, website and booking page, and trained its staff to shoot the daily posts on a phone. At $1,650 spread over a year of use, the hero images cost about $32 a week. The daily phone photos keep social media fresh at almost no cost.
A shot list for every event
Build a standard list and give it to whoever is shooting, whether that is you, a staff member or the event photographer.
- Every dish on the menu, plated, before service, in good light
- The full table or buffet set, before guests arrive
- Chefs’ hands plating and garnishing
- Servers carrying trays into the room, seen from behind
- Guests’ hands reaching for canapés or glasses, without faces unless they agree
- The bar or truck in action, with a line or a crowd
- One wide shot of the room in full service
- Detail shots: a pour, steam, a slice, a garnish
- The dessert or late-night food moment
- Your team, together, at the end of the night
Ten shots, taken at every event, give you a growing library sorted by event type and season. Name files by event type, dish and date so that you can find the right image when a client asks what your summer wedding canapés look like.
Using the photos
Put the best image of each dish beside it on your sample menus. Use wide service shots on your homepage and booking page, where clients are imagining the whole event. Keep close-ups and pours for social media and short video, where movement and texture catch the eye. Replace any photo that no longer shows food you serve.
Send planners and venues a small set of approved images after each event, with the photographer’s credit, so they can share your food in their own posts and recommendation emails. Before you send, check that each image shows food and drink you still serve, and that no guest appears who has not agreed to be featured.
In Canada and the GTA
Accuracy is a legal matter. Under the Competition Act, a representation to the public that is false or misleading in a material respect is reviewable, and the general impression matters. A photo that shows larger portions, different ingredients or a presentation your kitchen does not actually deliver can mislead. The Canadian Code of Advertising Standards takes the same view: truthfulness is judged by the general impression, and disclaimers cannot contradict the main message.
AI-generated and heavily edited images. Correcting colour and exposure is ordinary editing. Generating a dish with an AI tool, or altering an image so the food looks unlike what you serve, is different. Ad Standards’ Influencer Marketing Disclosure Guidelines say AI-generated or heavily altered images that show product benefits should be disclosed, for example with #MadeWithAI, and that a disclaimer cannot correct a misleading impression. The safest rule is simple: photograph the food you actually serve. The guidelines set out the disclosure wording.
Photos that show alcohol. If you hold a liquor licence or permit, the AGCO’s advertising guidelines apply to your photos as much as your words. Advertising must not promote excessive consumption or depict excessive or prolonged consumption, must not appeal to people under the legal drinking age, must not link drinking to social, professional or sexual success, and must not associate liquor with driving or other activities that need care and skill. In practice, show a well-made drink in a glass, not a table of empty bottles; avoid models who look young; and never photograph drinks beside car keys or a truck’s driver’s seat. See the AGCO’s liquor advertising guidelines.
Who owns the photos. Under the Copyright Act, the photographer is the first owner of copyright, and since November 7, 2012 that applies even when you paid for the shoot, unless the photographer assigns copyright in writing. If you hire a food photographer, put the licence in writing: where you may use the images, for how long, whether you may edit them and how to credit them. Photos taken by your own employees in the course of their work belong to your business unless you agree otherwise. Photos from a client’s event photographer need that photographer’s permission.
Guests in your photos. Under PIPEDA, images of identifiable people are generally treated as personal information. At private events, agree with the client whether you may photograph guests, and keep to hands, backs and wide shots unless people agree to be featured. Never use photos of children at an event in marketing without a parent’s agreement.
Ontario light and seasons. In December and January, GTA daylight is short and often grey, and many winter events start after dark. Shoot menu photos at midday, near the largest window you have, and save spring and summer dishes for a planned shoot when the produce is in season. Late spring brings Ontario asparagus and strawberries, summer brings peaches, corn and tomatoes, and autumn brings apples, squash and root vegetables, each a natural theme for seasonal menus and posts.
The local look. GTA clients respond to photos that look like the GTA: a long table in a converted Toronto warehouse, a truck at a waterfront festival, a family-style spread at a backyard celebration in Brampton. Shoot at real local events, with the venue’s and client’s permission, rather than relying on stock images that could be anywhere. Stock images of food you do not serve are a misleading shortcut, and clients who book because of them will notice the difference on the day.
This is general information, not legal advice. Check the official source or a lawyer for your own situation.
Worksheet
Download the worksheet and complete it for your own business, using Lantern & Lane as the model where it helps. Keep it with your marketing plan. It takes about 10 minutes.
Check your understanding
Related guides, venues and vendors
Food & drink quantity calculator
Calculators
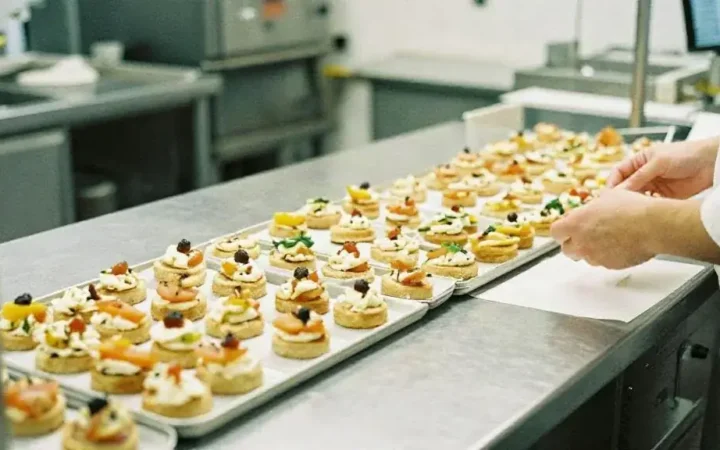
Food quantities and a cost estimate for breakfast, brunch, lunch, receptions and dinner, for your guest count and city.
Read more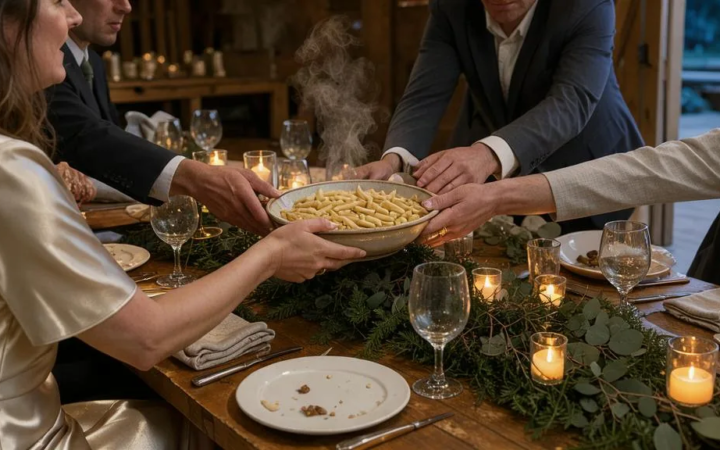
Wedding food & drink
Weddings
Service styles, bar packages, dietary planning and Ontario alcohol rules for weddings.
Read more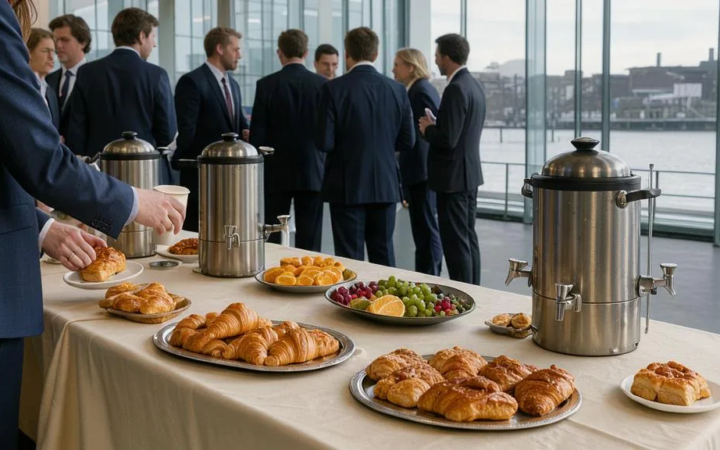
Conference food & drink
Conferences & Conventions
Catering for breaks, lunch and the reception at a Toronto conference: formats, timings, dietary planning, the service charge and Ontario alcohol rules.
Read more