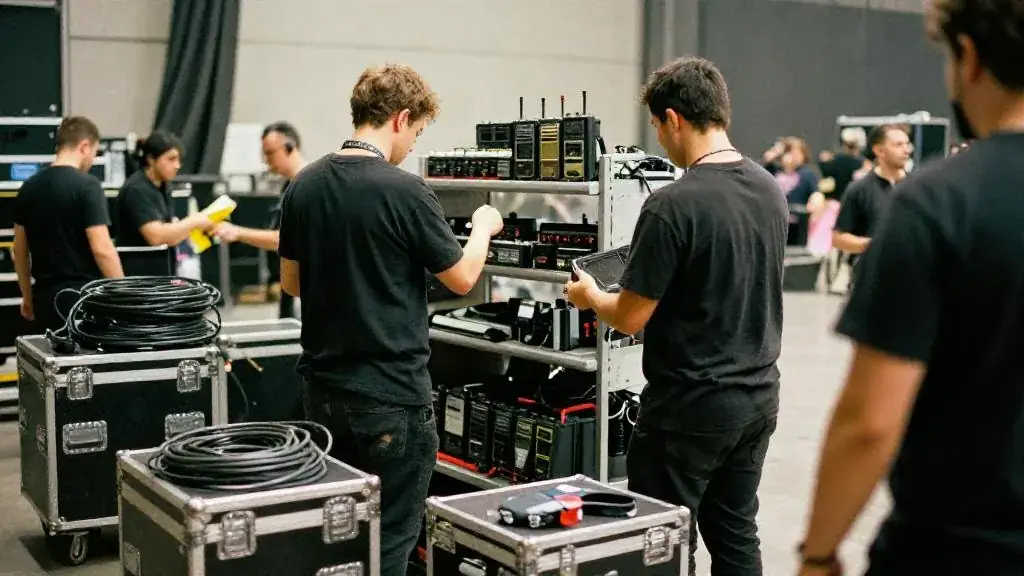
The one page that lives in the planner’s pocket on event day.

How to fill in the contact sheet
Start the sheet as soon as the first vendor is confirmed and add each supplier as their contract is signed, rather than assembling it the night before. For each line, record the role (caterer, DJ, florist, AV, photographer, performer), the company, the name of the person who will actually be on site, a cell number that will be answered on the day, and their scheduled arrival and departure times. The on-site contact is often not the salesperson you dealt with, so ask each vendor for that name in the final confirmation call.
The remaining columns are your quiet compliance check. Note if you hold a certificate of insurance, whether a technical rider has been received and answered, and whether the vendor has been paid in full or is owed a balance on the day. A vendor expecting a cheque or a gratuity at the end of the night should be flagged so no one is chasing an envelope at midnight.
Who gets a copy
Print enough copies for the planner, the venue's event manager, the stage manager or MC, and anyone else running a part of the day. Keep a digital copy on your phone, but assume the venue basement or loading dock will have poor reception. Sort the sheet by arrival time rather than alphabetically, so it doubles as a load-in schedule. It works best alongside a run of show, which tells everyone when cues happen, while the contact sheet tells them who to call when a cue is late.
Common mistakes
- Listing the office line instead of a personal cell for the day.
- Forgetting the venue's own contacts: security, maintenance and the after-hours manager.
- Leaving out arrival times, which is how two trucks end up at one loading dock.
- Not noting who is allowed to approve overtime if the event runs late.
Send the finished sheet to every vendor about a week out with a short note asking them to confirm their line. Errors surface quickly when people see their own details. Pair it with the day-of emergency kit checklist so the printed sheet goes in the bag, and keep the insurance column aligned with the requirements in your vendor contract outline.
Related guides, venues and vendors

What entertainment fits my event?
Quizzes & Finders
Answer four questions and get the entertainment categories that fit your format, goal, ceiling and budget.
Read more
Event budget calculator
Calculators
Split any budget into venue, food, entertainment, décor, photo, print and contingency using GTA cost ratios.
Read more
Cost per guest calculator
Calculators
All-in cost per guest including HST and gratuity, and the break-even guest count.
Read more